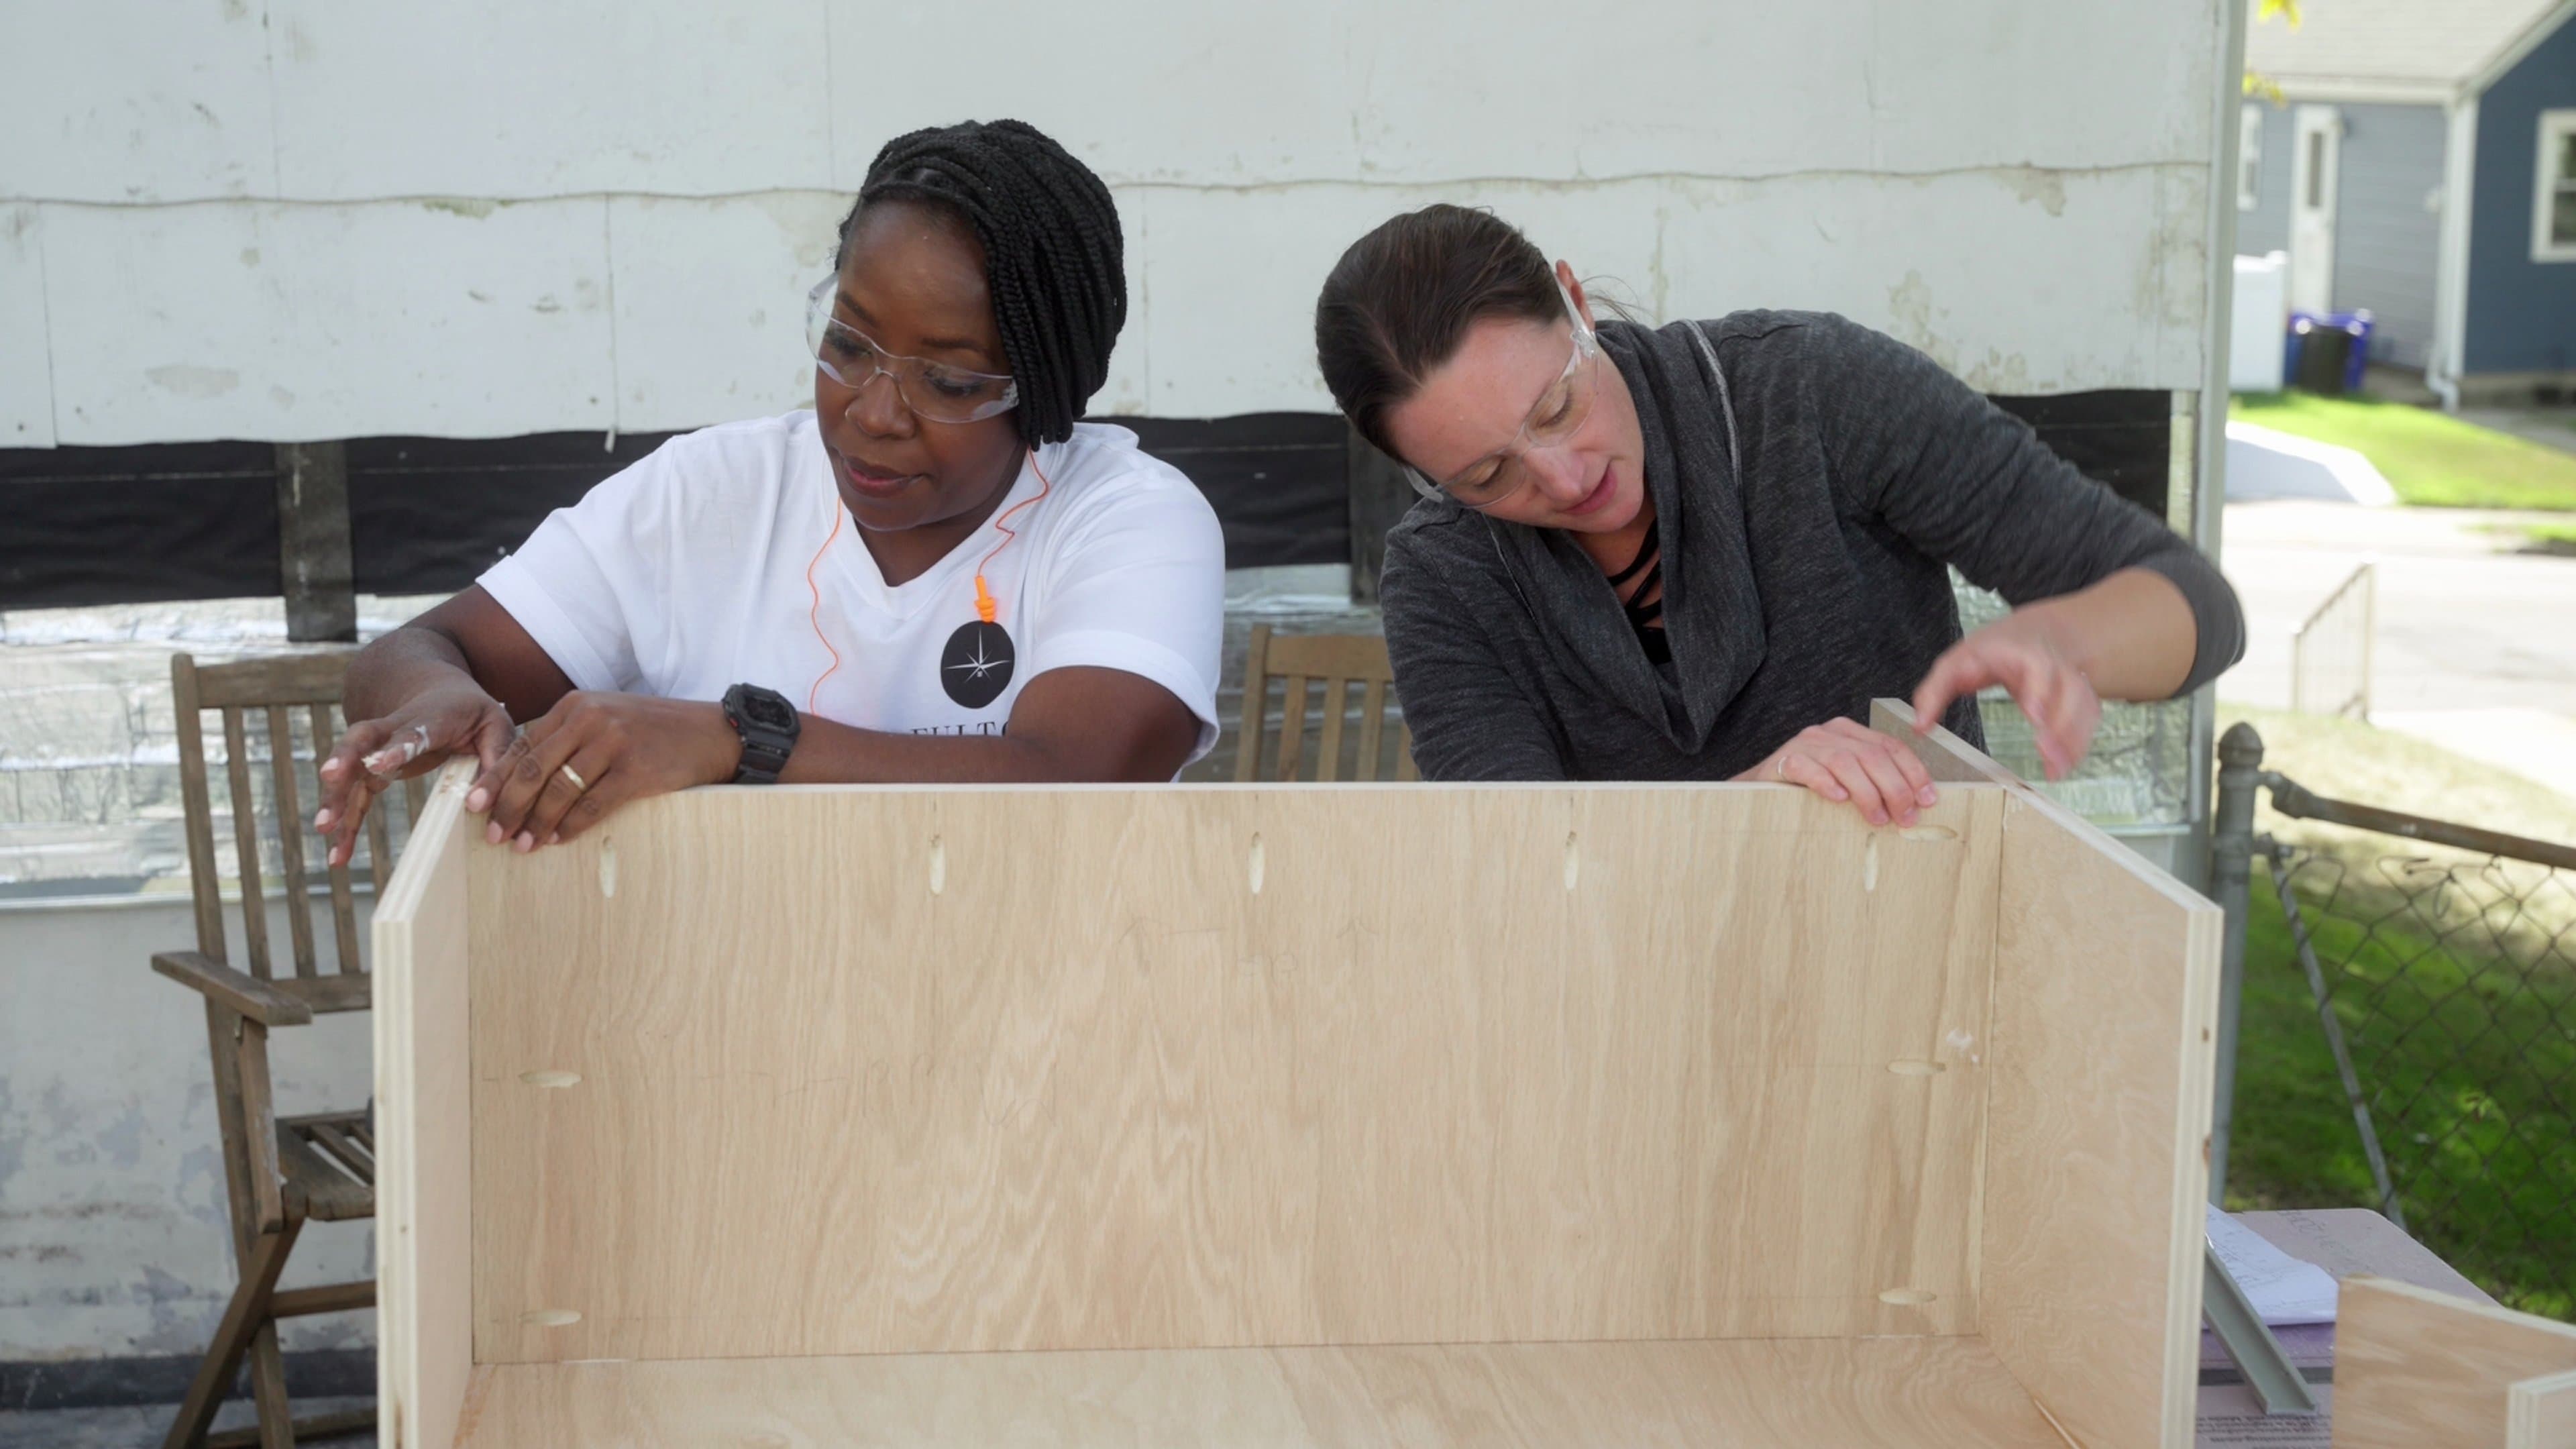
As the project neared the decoration phase, our homeowner started thinking about giving her husband’s work-from-home office a stylish update. Basic filing cabinets wouldn’t do, but a DIY storage bench with a cushioned top and hidden storage door definitely fit the bill.
Tools & Materials
Before you begin, gather the following tools and materials.
Cut list
- Bottom: 24”x36” plywood
- Side boards: (2) 18”x 23 ¼”
- Middle board: 18” by 22 ½”
- Back board: 18” by 22 ½”
- Stationary top: 12”x 37”
- Hatch: 12 ½”x37
- Edge trim (around the top): ¾” x ½” cut to size
- Faceframe trim: ¾” x 1 ⅝” cut to size
- Base trim: ¾” x 3 ½” cut to size
Tools
- Miter saw
- Track saw or table saw
- Drill and drill bits
- Sandpaper
- Clamps (90-degree jigs help)
- Pocket hole jig and screws
- Plywood boards
- Piano hinge
- Casters
- Hardwood boards for trim
- Cushioned top
Build a DIY Storage Bench
The first step in the process is cutting all of the components to size, whether that’s with a track saw, table saw, miter saw, or a combination. Also, it’s important to note that this cabinet is constructed with pocket holes, bored on the inside faces of the two side boards, the back board, and the center board. Drill pocket holes after cutting the components and before assembly.
1. Place the cabinet bottom on the work surface, standing on its front. Apply a bead of glue along the bottom of one of the side pieces and clamp it in place to the bottom board (a 90-degree clamping jig can be a huge help here).
Note: The side boards are intentionally ¾-inch shorter than the width of the cabinet to allow for trim later in the process. Keep this in mind when installing.
2. While the glue is drying, use the brad nailer to drive several nails through the bottom board and into the edge of the side board.
3. Attach the other side board to the bottom piece following the previous steps again. Remember to maintain the ¾-inch gap at the front of the cabinet.
4. Flip the assembly so the bottom board is flat on the work surface. Carefully glue, align, and install the center board between the two side boards using pocket holes. The center board should be centered at 12 inches from the back of the cabinet. This is an important detail to ensure the hatch works properly later.
Use pocket hole screws to fasten the center board to the side boards.
5. Install the back board following the same process, gluing, aligning, and fastening it in place. Leave a ¾-inch gap at the back of the cabinet while installing.
6. Flip the cabinet so it’s bottom-up. Place a caster in each corner, holding them back from the edges by about an inch. Trace the screw holes onto the bottom of the cabinet and then remove the casters. Pre-drill the holes before replacing the casters and fastening them to the bottom of the cabinet.
7. With the cabinet flipped onto its wheels, glue and nail the stationary half of the top to the top of the cabinet, It should be flush with the back of the cabinet, sit on top of the center board, and overhang the sides by about ½-inch.
8. Place the hatch door on the top of the cabinet and align it. Carefully place the piano hinge in place between the hatch and the stationary top, and mark the screw holes. Pre-drill the screws before installing the hinge.
9. Cut and install the edge trim around the edges of the plywood, gluing and nailing in place.
10. Install the face frame trim around the opening of the shelf, gluing and nailing in place.
11. Install the base trim around the base of the cabinet, gluing and nailing in place.