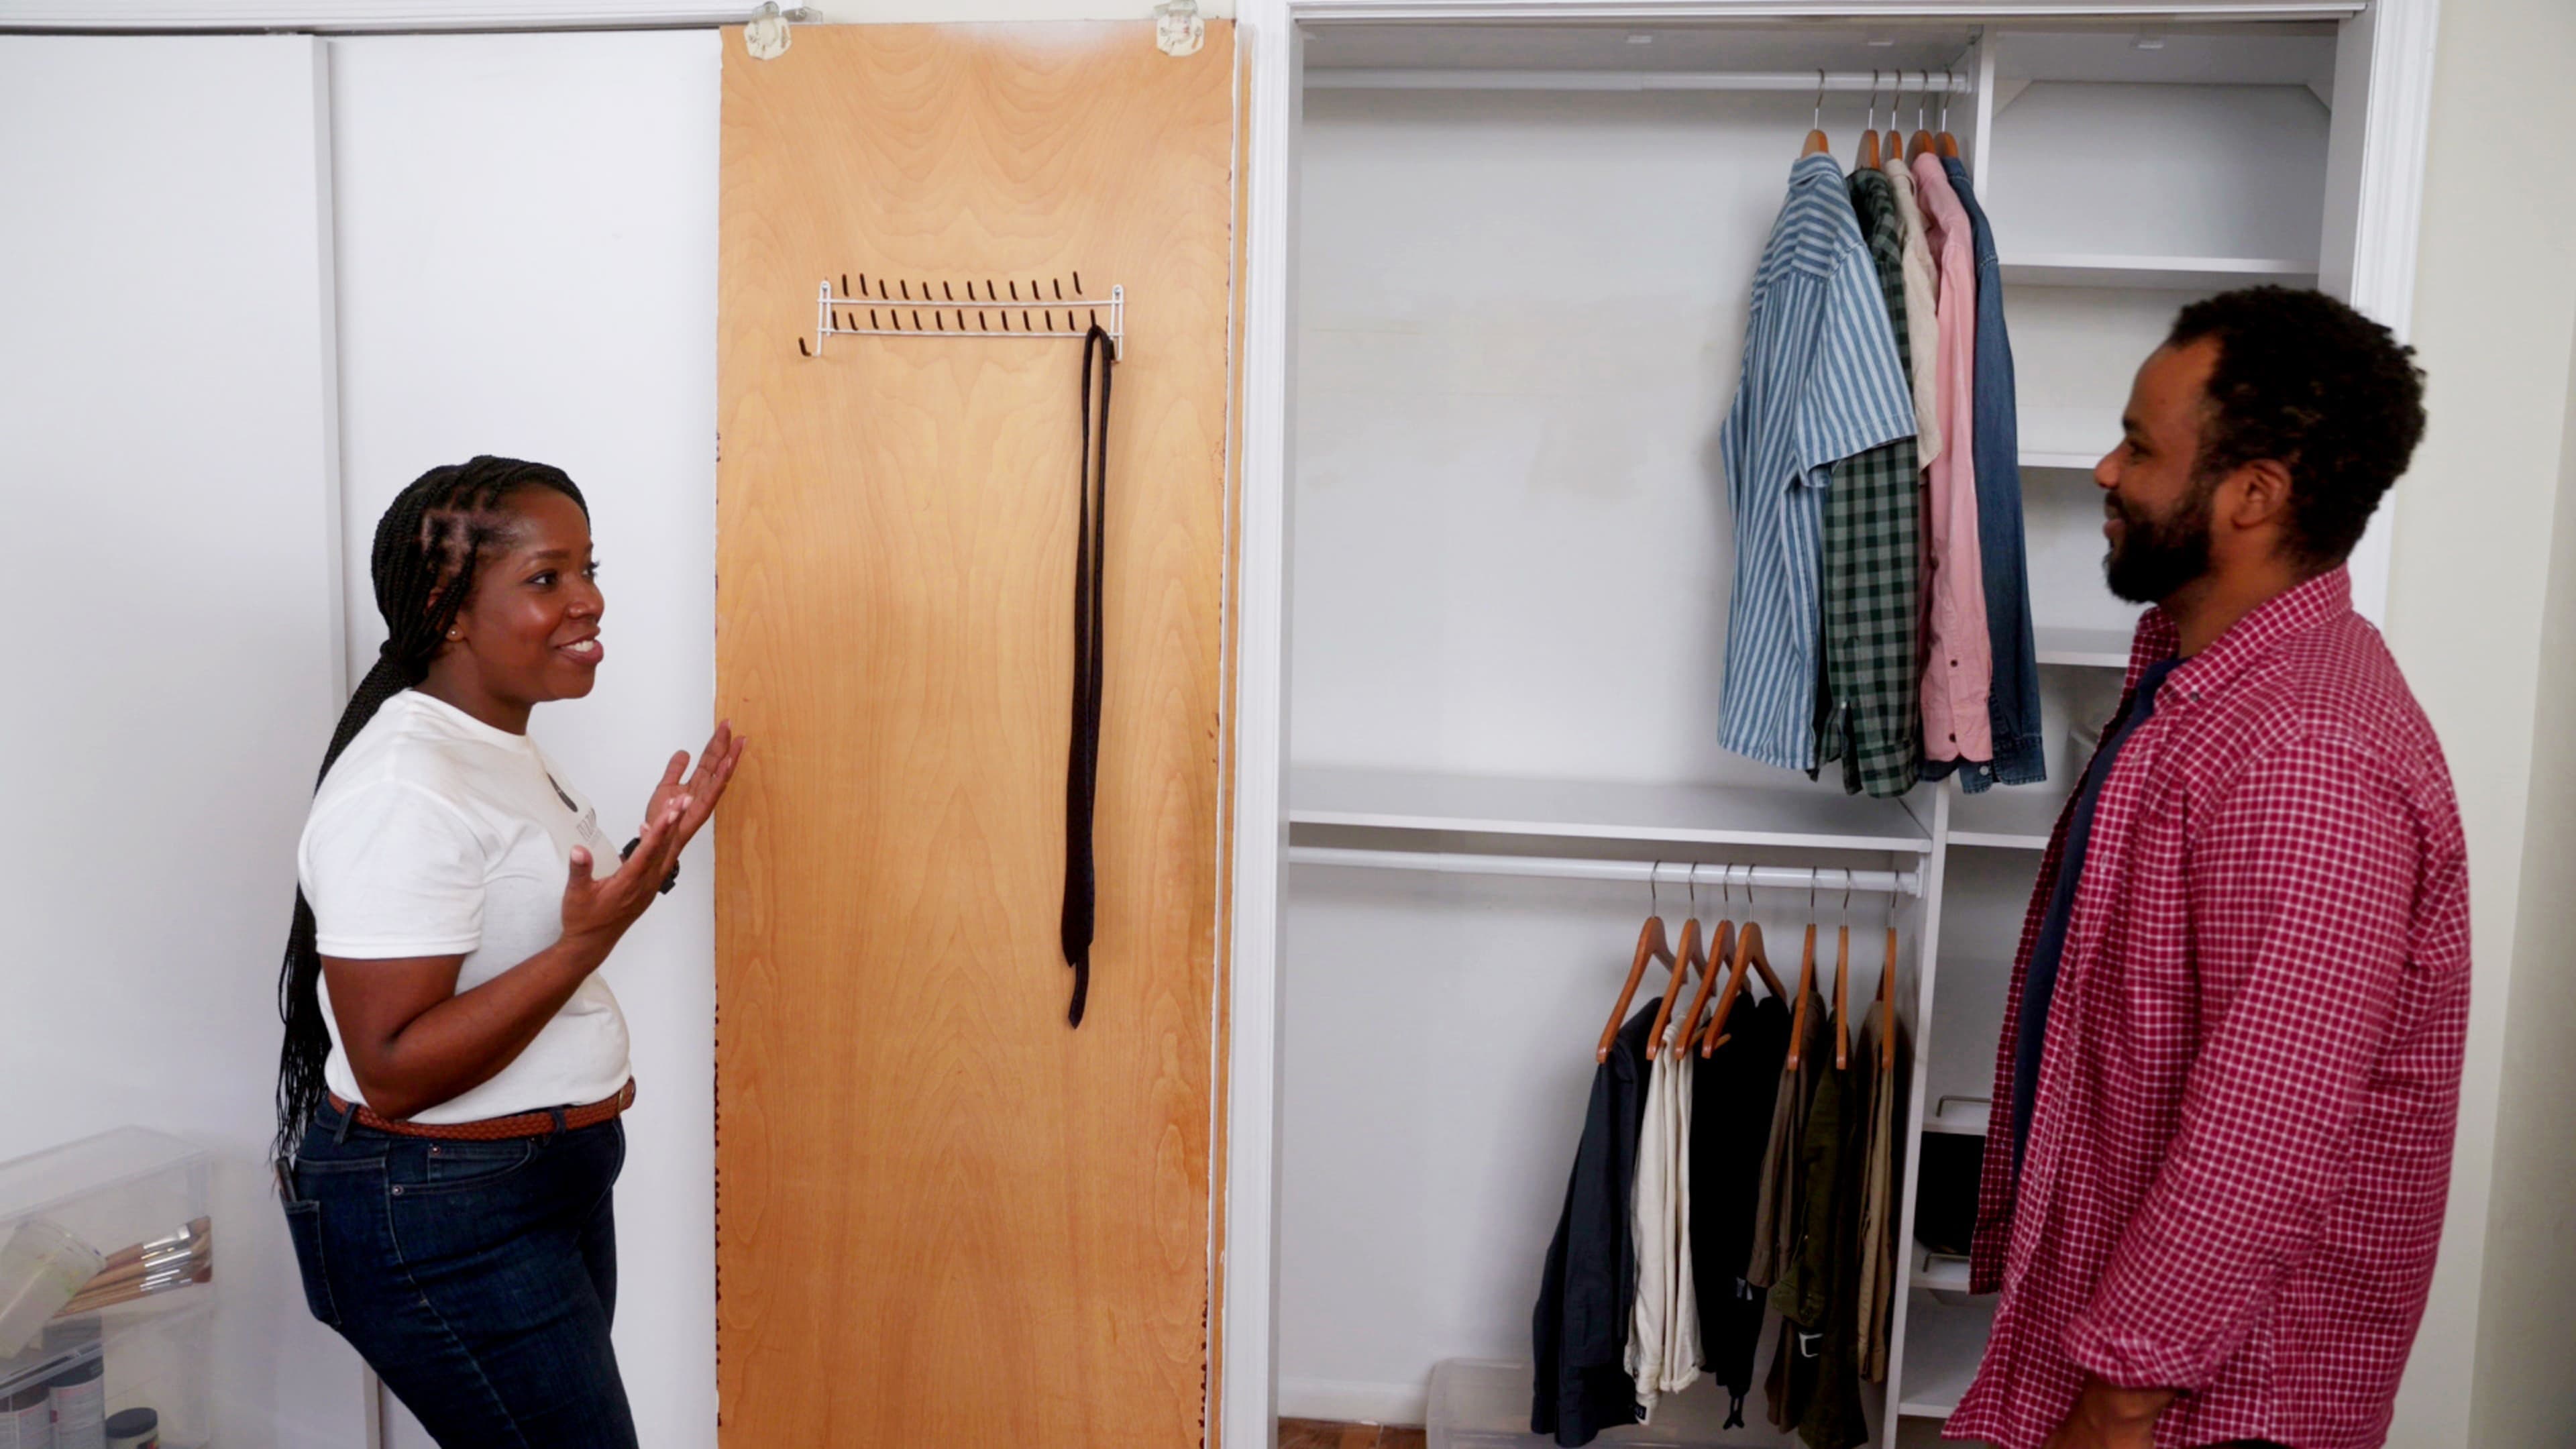
Closets are notorious for wasting space. But with a closet organizer kit and some hard work, you can take advantage of lost vertical and horizontal space, making the most of your closet’s storage. Here’s how to maximize your closet space to hold more clothes, shoes, and miscellaneous items on a budget.
You will need:
- Drill
- Screwdriver
- Hammer
- Levels (2-foot and torpedo)
- Stud finder
- Closet shelving kit
- Heavy-duty anchors
- (2) Closet pole kits and brackets
Tips to Maximize Your Closet on a Budget
1. Empty everything from the closet, including clothing, shoes, miscellaneous items, and the shelving, poles, and bracketry that are already installed.
2. Measure the total width, height, and depth of the closet to determine the right closet components to purchase.
3. Assemble the individual closet components following the manufacturer’s instructions. This generally involves installing alignment pegs, special hardware, and installing braces in the corners with a hammer and the supplied nails.
4. Place the first cabinet or shelf into the closet and check it for level, both side to side and front to back. If it’s out of level, adjust the feet by screwing them in or out.
5. Once the shelf is level, fasten it to the wall using the heavy-duty anchors and the supplied brackets.
6. Repeat the process with the next shelf. If the shelf will sit on top of the shelf you just installed, don’t install the adjustable feet. It should be level if the base shelf is level. Use the supplied brackets to attach the top shelf to the base.
7. Install one clothing rod bracket on the side of the cabinet. Place the adjustable rod in the bracket, check it for level, and mark the wall or opposite cabinet. In this case, do your best to find a stud to attach the clothing rod to.
8. Repeat the rod installation process with the lower rod.
9. Install the adjustable shelves, shoe racks, and hooks that came with the closet kit.