Closing on your first home was a massive win. You traded a lower mortgage for some sweat equity, and now you need to actually put in the work to make your house into a home. The honeymoon phase has worn off, and reality has hit, particularly after you looked up at your ceiling. Don’t let the cobwebs and mysterious yellow stains overhead deter you from making your investment into a dream. Put on your most comfortable painting clothes and use these tips to turn that dingy 5th wall into a weekend masterpiece.
Choosing the Right Primer
Before you apply the actual ceiling paint, you’ll want to choose the right primer and put it down before you start painting. If you see unusual stains on your ceiling, make sure that any leaks that may have caused them are plugged. Then, look past the standard latex primer and opt instead for a high-quality, oil-based stain-blocking primer to make those eyesores on the ceiling disappear. If the ceiling is porous, use a high-build primer to prevent your paint of choice from soaking into the surface and looking patchy.
Best Paint for Ceilings
After choosing the right primer, it’s time to choose the best paint for the best results.
Color

When choosing a paint color for the ceiling, be aware that the standard is crisp white, which makes a room feel larger.
Type
Matte or ultra-flat is the best paint to use on a ceiling. It does not reflect light and helps hide blemishes and architectural imperfections.
Drying Times
Try to choose a ceiling paint that will dry to the touch within one to two hours.
Low VOCs
To minimize toxic odors in your home weeks after you’ve painted, choose a paint that has low volatile organic compounds (VOCs).
Room Preparation
Since paint can splatter all over the place from the ceiling, you’ll want to make sure you protect the room you’re painting. Here are some tips.
Cover the Furniture
Ideally, you should move the furniture out of the room you plan to paint. However, if this is too much of an obstacle, the next best option is to cover the furniture with a drop cloth or painter’s plastic.
Handling Fixtures and Lights
As with furniture, it’s a good idea to also cover chandeliers and other light fixtures with plastic and painter’s tape along the edges. Turn them off first, of course. If you can also remove the fixtures while you paint to prevent splatter from getting on them, this is a better option.
Protect the Floor
Whether you have carpet, tile, or high-quality hardwood, you won’t want paint splatter ruining it. As you cover your furniture and fixtures, make sure to cover the floor with a heavy-duty canvas drop cloth. Tape off the edges to keep the canvas from moving as you walk on it or maneuver the step ladder around.
Techniques for Ceiling Painting
Now it’s time to paint. Here are some items you will need, followed by techniques for painting the ceiling.
Essential Tools and Materials
- Drop cloths or painter’s plastic
- Painter’s tape
- Duster or microfiber cloth (for dust bunny removal)
- Spackle
- Putty knife
- Extension pole
- Paint roller frame
- Roller covers
- ⅜ inch nap for smooth ceilings
- ½ to ¾ inch nap for popcorn ceilings
- Angled sash brush
- Touch-up brush
- Paint tray and liners
- Step ladder
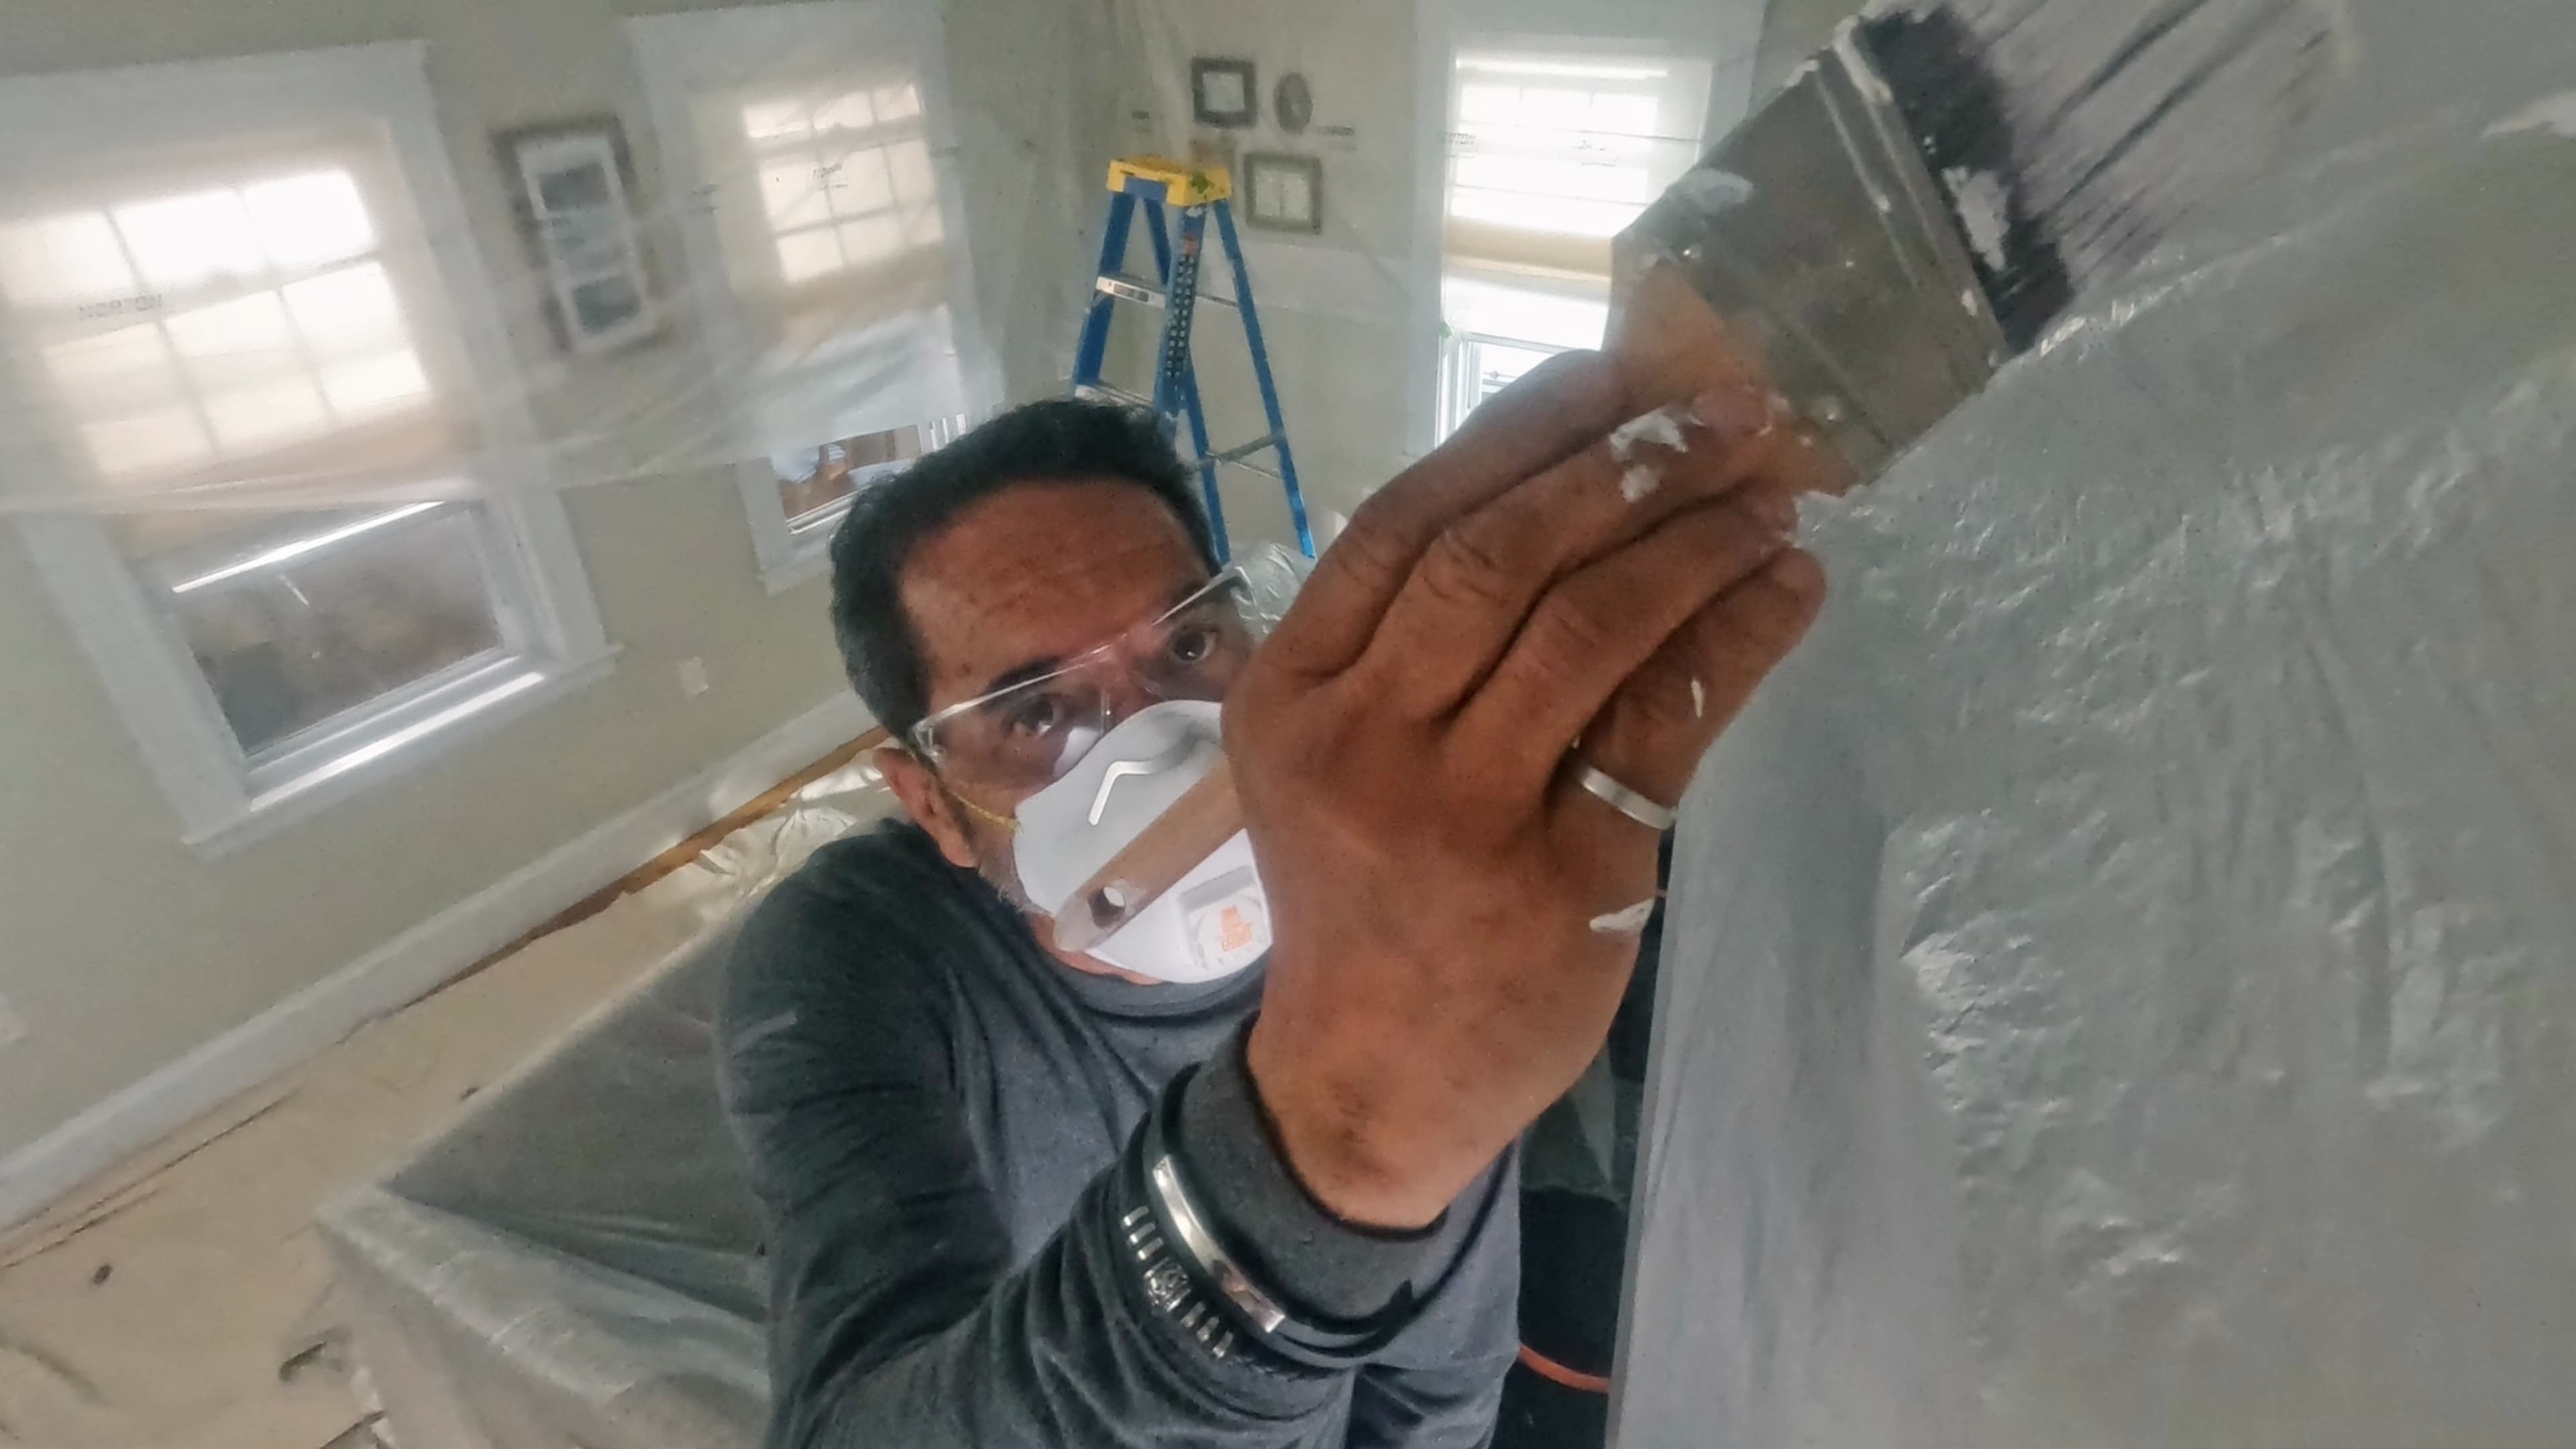
- Safety glasses
- Hair covering (hat or bandana)
- N95 paint mask or respirator
- Flash light
- Stain-blocking primer
- Flat paint
Cutting In
Learning to cut in properly along walls and around devices is key. Use an angled brush for this purpose.

Step 1: Load the brush with about an inch of paint, then tap off the excess into the paint can.
Step 2: Work the paint close to the edge, watching the tip of the brush drag behind, near the trim, in long, slow strokes.
Step 3: Go back and spread the paint with the brush so the wet paint is at least an inch wide.
Know How to Roll
With the ceiling cut in, it’s time to start rolling. This process covers more surface area in a much shorter time, but it’s important not to rush.
Step 1: Start by loading the roller with paint from the paint tray, then roll off the excess.
Step 2: Hold the roller handle at approximately 45 degrees ahead of you and roll the paint onto the ceiling in overlapping strokes. Overlap the cut lines without touching the walls or devices.
Step 3: Maintain a wet edge to avoid lap marks.
Apply a Second Coat
Even if you purchase a paint that dries within two hours, it’s still a good idea to wait four hours before applying a second coat to ensure the first coat has fully bonded. The second coat will fill in thin spots and ensure a professional, streak-free finish. It will also ensure a consistent color. For the best results, roll the second coat perpendicular to the first coat using the cross-hatching technique.
Adding Finishing Touches
After applying the second coat, it’s time to finish your paint project. Check for missed spots by using a flashlight. Use a touch-up brush to fill in any tiny blemishes and missing pockets of paint around fixtures. Once the ceiling is dry, remove the drop cloth or plastic from furniture, floors, and fixtures.
Frequently Asked Questions About Painting a Ceiling
Can I use regular wall paint for the ceiling?
No. Wall paint is not the ideal option to paint a ceiling. Regular wall paint exposes too many blemishes. Ceiling paint is thicker and less likely to splatter as much as wall paint.
How do I avoid lap marks on the ceiling?
To minimize lap marks, it’s best to complete the entire ceiling surface in one session rather than taking breaks. This will ensure that the paint blends seamlessly as it dries. Also, make sure edges remain wet and work in small sections.
Should I paint the ceiling or the walls first?
Always paint the ceiling first. Starting from the top down ensures a cleaner finish and prevents ruining fresh wall paint.