Whether it’s working or not, a radiator cover may stick out like a sore thumb in your home decor, like a relic from centuries ago. Before you haul the radiator cover off to the curb, you may want to jazz it up with radiator paint. Here are some steps for bringing old faithful back to life with the right paint.
Do You Have a Radiator?
If your home is several decades old, you may have a mysterious, heavy piece of metal sitting in your living room or bedroom that is an eyesore. You’re probably looking at a radiator cover. Radiators are an old way of supplying heat in a space, dating back to the late 1800s. They were popular right up until the mid-20th century.
Clearly, this dated piece of metal wasn’t a dealbreaker in buying the home, but you might want to do something about it now. One thing you can do is paint the radiator cover.
Why Paint the Radiator Cover
If you have a home with a radiator cover, it probably isn’t an attractive centerpiece in the room it currently occupies. Tossing it out may expose an even less attractive radiator underneath and possibly expose your children or pets to burns. One way to change this hideous “thingamajig” into something that blends well with your room’s decor is to paint it.
If the original metal is still exposed, you may have an easy radiator paint job ahead of you. However, if there is already paint present, it won’t be as simple as painting over it, since the existing paint may contain lead.
Check for Lead
Before you start to handle the old radiator, it’s a good idea to test for lead, particularly if your house was built before 1978. Lead paint was often used in homes until it was banned in 1978.
One way to test for lead is to get a lead test kit. Instructions will vary by kit type. Follow the instructions to ensure proper use of the lead test kit. When performing the test, wear gloves. Scrape off a small section of paint down to bare metal to ensure that all paint is tested, even if there are multiple coats on the surface. Various kits will have different testing procedures. However, a common testing kit type may have you crush the sides of the test tube to activate the reagent, then shake the tube to ensure the chemicals are mixed.
Once the tube is activated, squeeze it until some reagent appears at the end of the swab tip.
Next, you’ll wipe the tip of the swab across the point where you’ve scraped through the layers of paint. Using this type of lead test, the area should be wiped for no longer than 30 seconds. If the swab turns red, lead is present.
What to Do if Lead is Present
Lead is very dangerous when disturbed. When lead paint is discovered, it’s a good idea to hire a lead-certified contractor to handle the work safely and properly.
If lead is present, an expert will likely do all work outside. They may start by laying out a tarp to catch all paint chips and debris that fall during work. They may also wear full lead protocol PPE, including N or P100 respirators, safety glasses, coveralls, gloves, and shoe covers. The PPE ensures that the lead substance won’t be ingested or absorbed.
Once all lead paint is removed, the removal expert will carefully wrap up all tarps and place them in a contractor’s trash bag. They may also take off PPE and toss it into the trash bag. The last thing the contractor may do is take off the gloves to avoid contaminating the skin. Once all of these items are gathered into the trash bag, the contractor will tape off the bag and properly dispose of the hazardous waste.
Best Heat-Resistant Paints
Once you have removed the lead-based paint, you’ll want to choose the right paint for this radiator paint project. Not just any paint will do. You’ll want to choose one that can withstand high temperatures, 250 degrees Fahrenheit or greater. Here are some things to consider when shopping for radiator paint.
Consider buying spray paint.
Spray paint is the best choice for painting a radiator cover because it can reach deep into the coils and won’t leave brushstrokes on the finish. The result is a factory-like finish. For a job like this one, choosing a high-heat spray that can withstand temperatures up to 1,200 degrees Fahrenheit and dries quickly, in as little as 15 minutes, is ideal. Also, ensure that the spray paint you use is ideal for metal surfaces.
If you prefer brush-on paint, choose an enamel.
Spray paint isn’t your only option. You can also choose the traditional route by picking a paint that you must apply with a paintbrush or roller. Enamel paint is an excellent alternative to spray paint and can provide a much thicker, protective coating. It is ideal to choose an enamel paint with low odor that doesn’t yellow with age. You’ll also want to choose one that can withstand temperatures of 1000 degrees Fahrenheit or higher. As with spray-on paint, try to choose a quick-drying option.
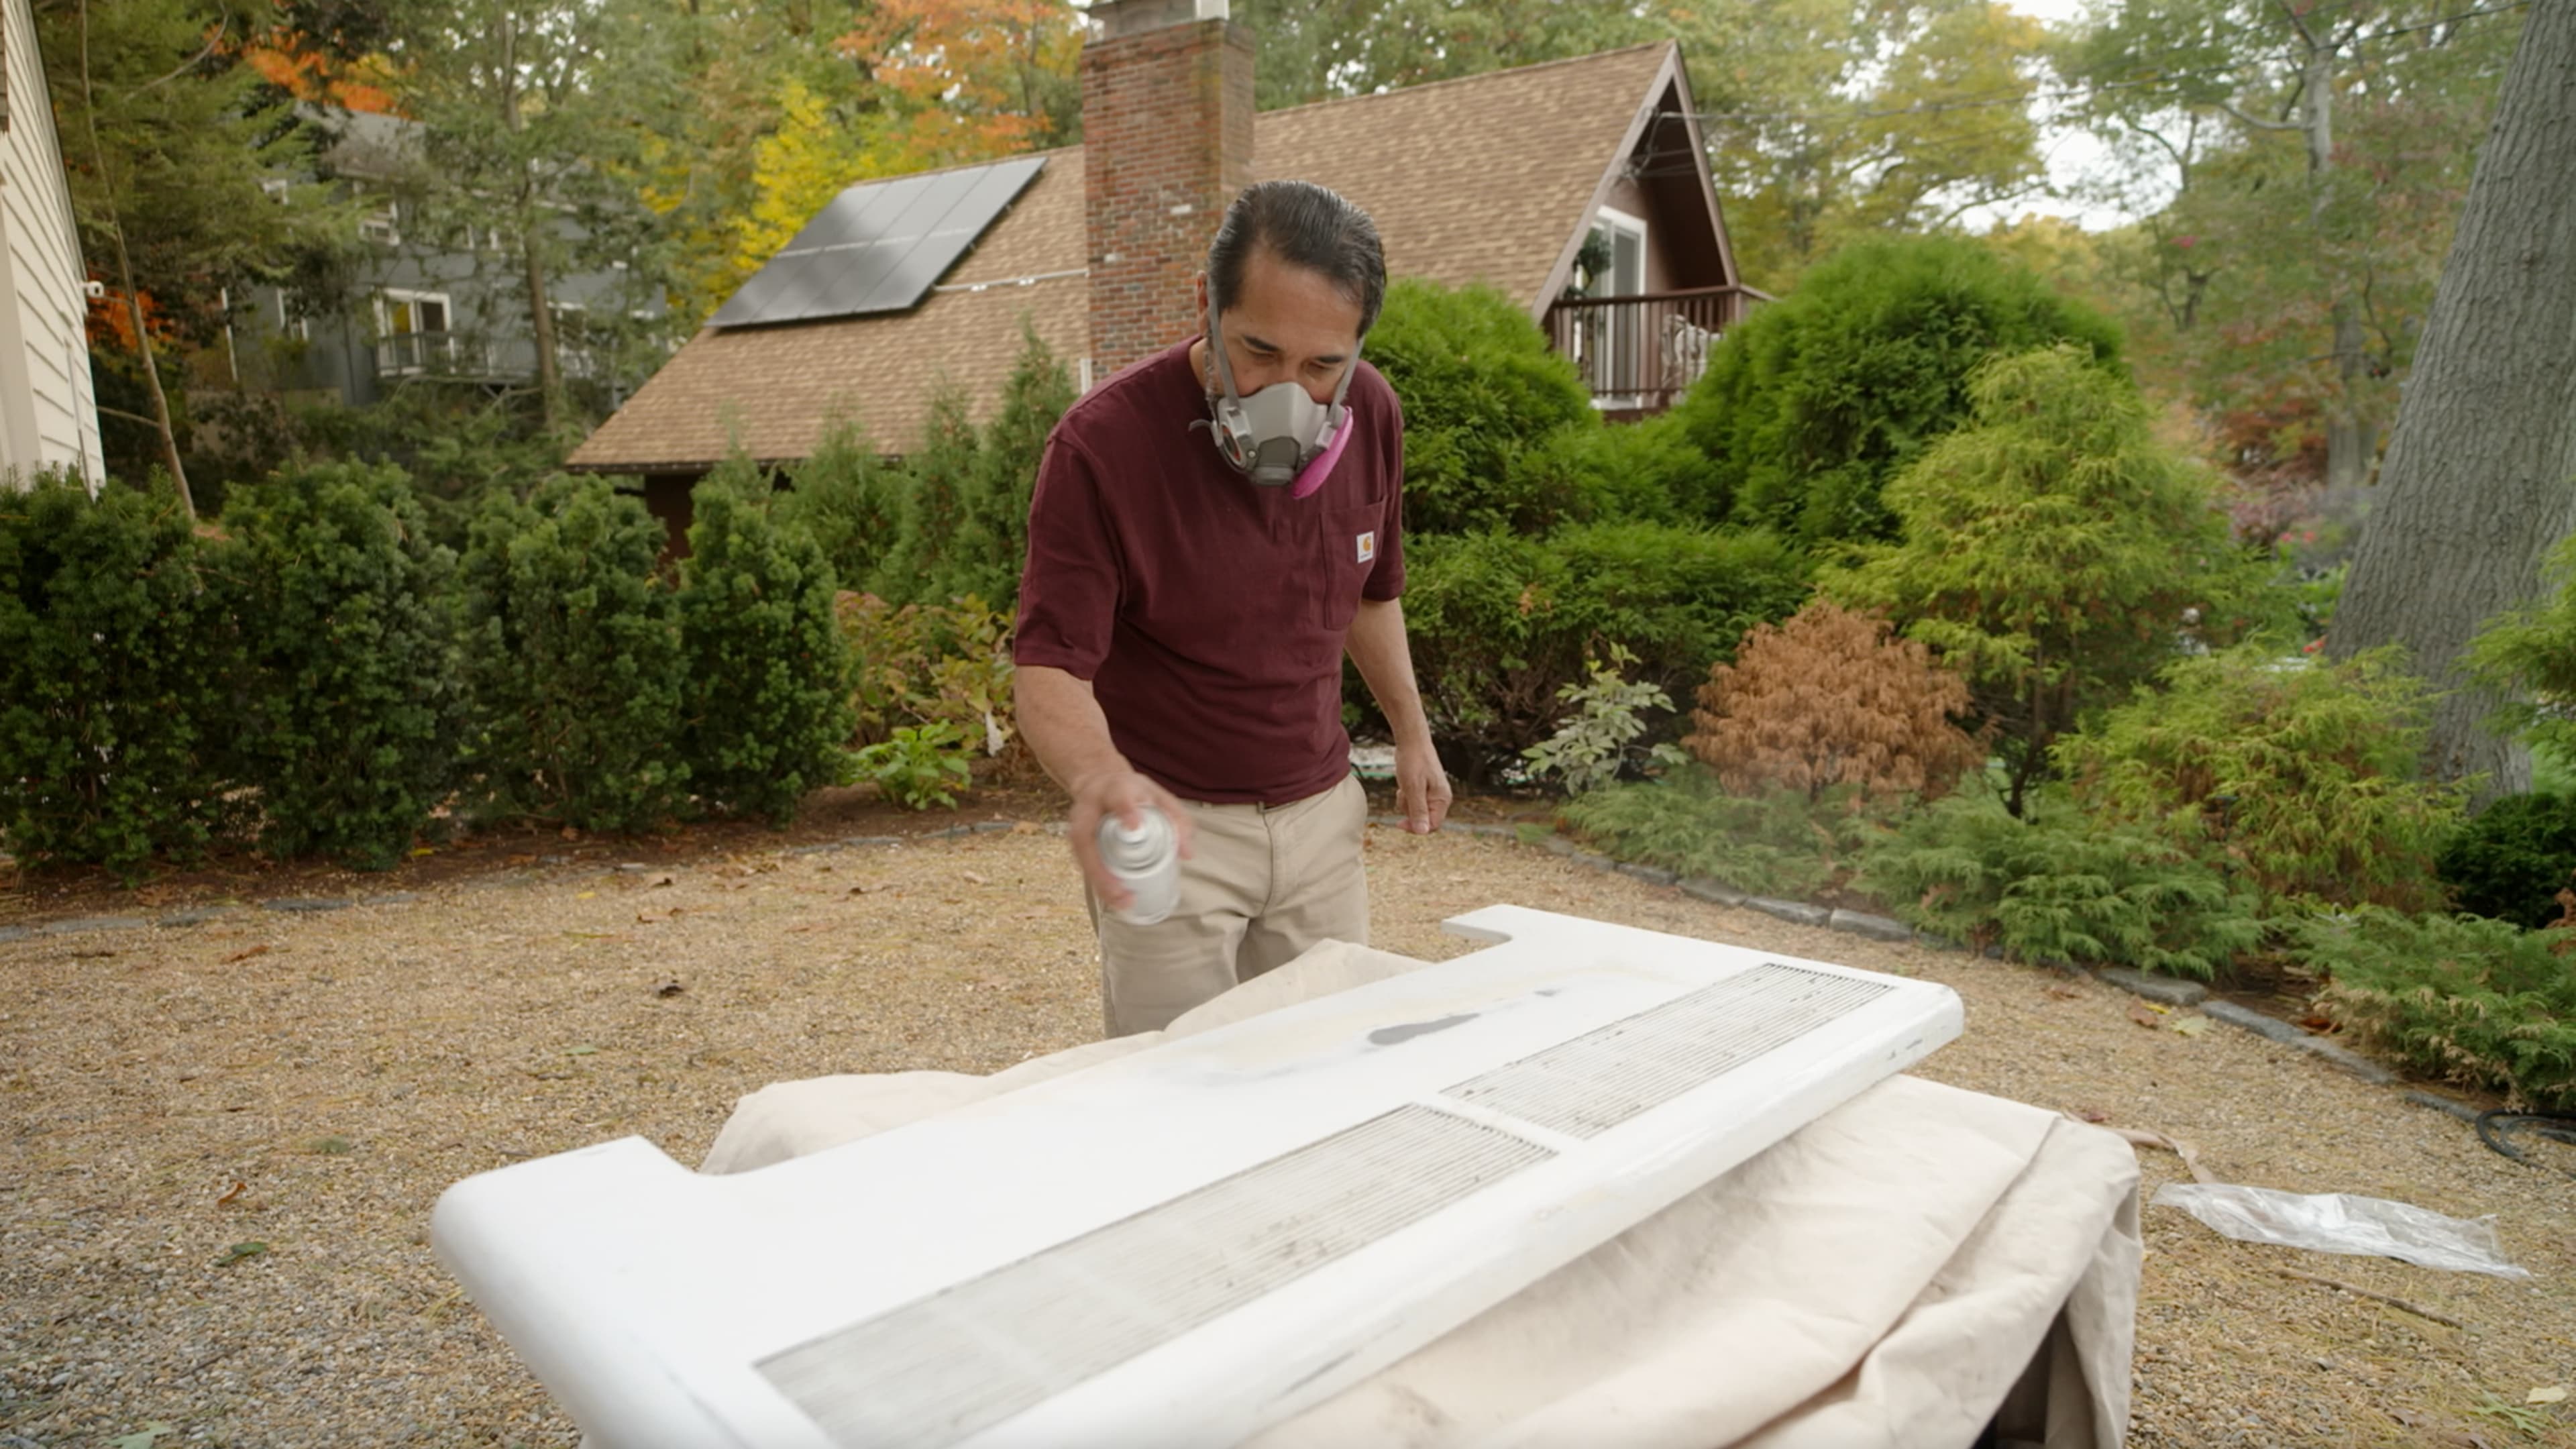
Prepping the Workspace
Painting outside is ideal for the best ventilation. However, if you must paint indoors, choose the best-ventilated place in your home. You should also wear a respirator mask to protect your lungs, as high-heat paints may emit strong fumes. Make sure that furniture, curtains, or other items are at least 5 to 6 feet away from your work area. Lay down painters’ cloth to protect the ground and use heavy-duty painter’s tape to secure it. If the radiator has a thick layer of grease, use a degreaser to remove it and any grime before painting. Follow the instructions for using the degreaser and allow the radiator cover to dry thoroughly before painting. Sanding the radiator’s surface can also help the new coat adhere.
Steps for Spray Painting a Radiator Cover:
Step 1: Start by applying a high-heat primer to ensure that the paint on the metal sticks.
Step 2: Apply 3 to 4 thin layers of paint, ensuring you shake the paint well before use and spray in a horizontal motion onto the surface.
Step 3: Allow the paint to cure for 24 hours or more, even if it feels dry to the touch after 30 minutes, to ensure that it can handle the heating and cooling cycles once it is reinstalled.
Steps for Painting a Radiator Cover:
Step 1: Use a small foam roller to add as little texture as possible to the radiator.
Step 2: For in between the grates, a small square trim brush can be used after the roller. The key is to minimize the paint drips in between the grates.
Step 3: Only one coat should be necessary, but if more coverage is needed, add another.