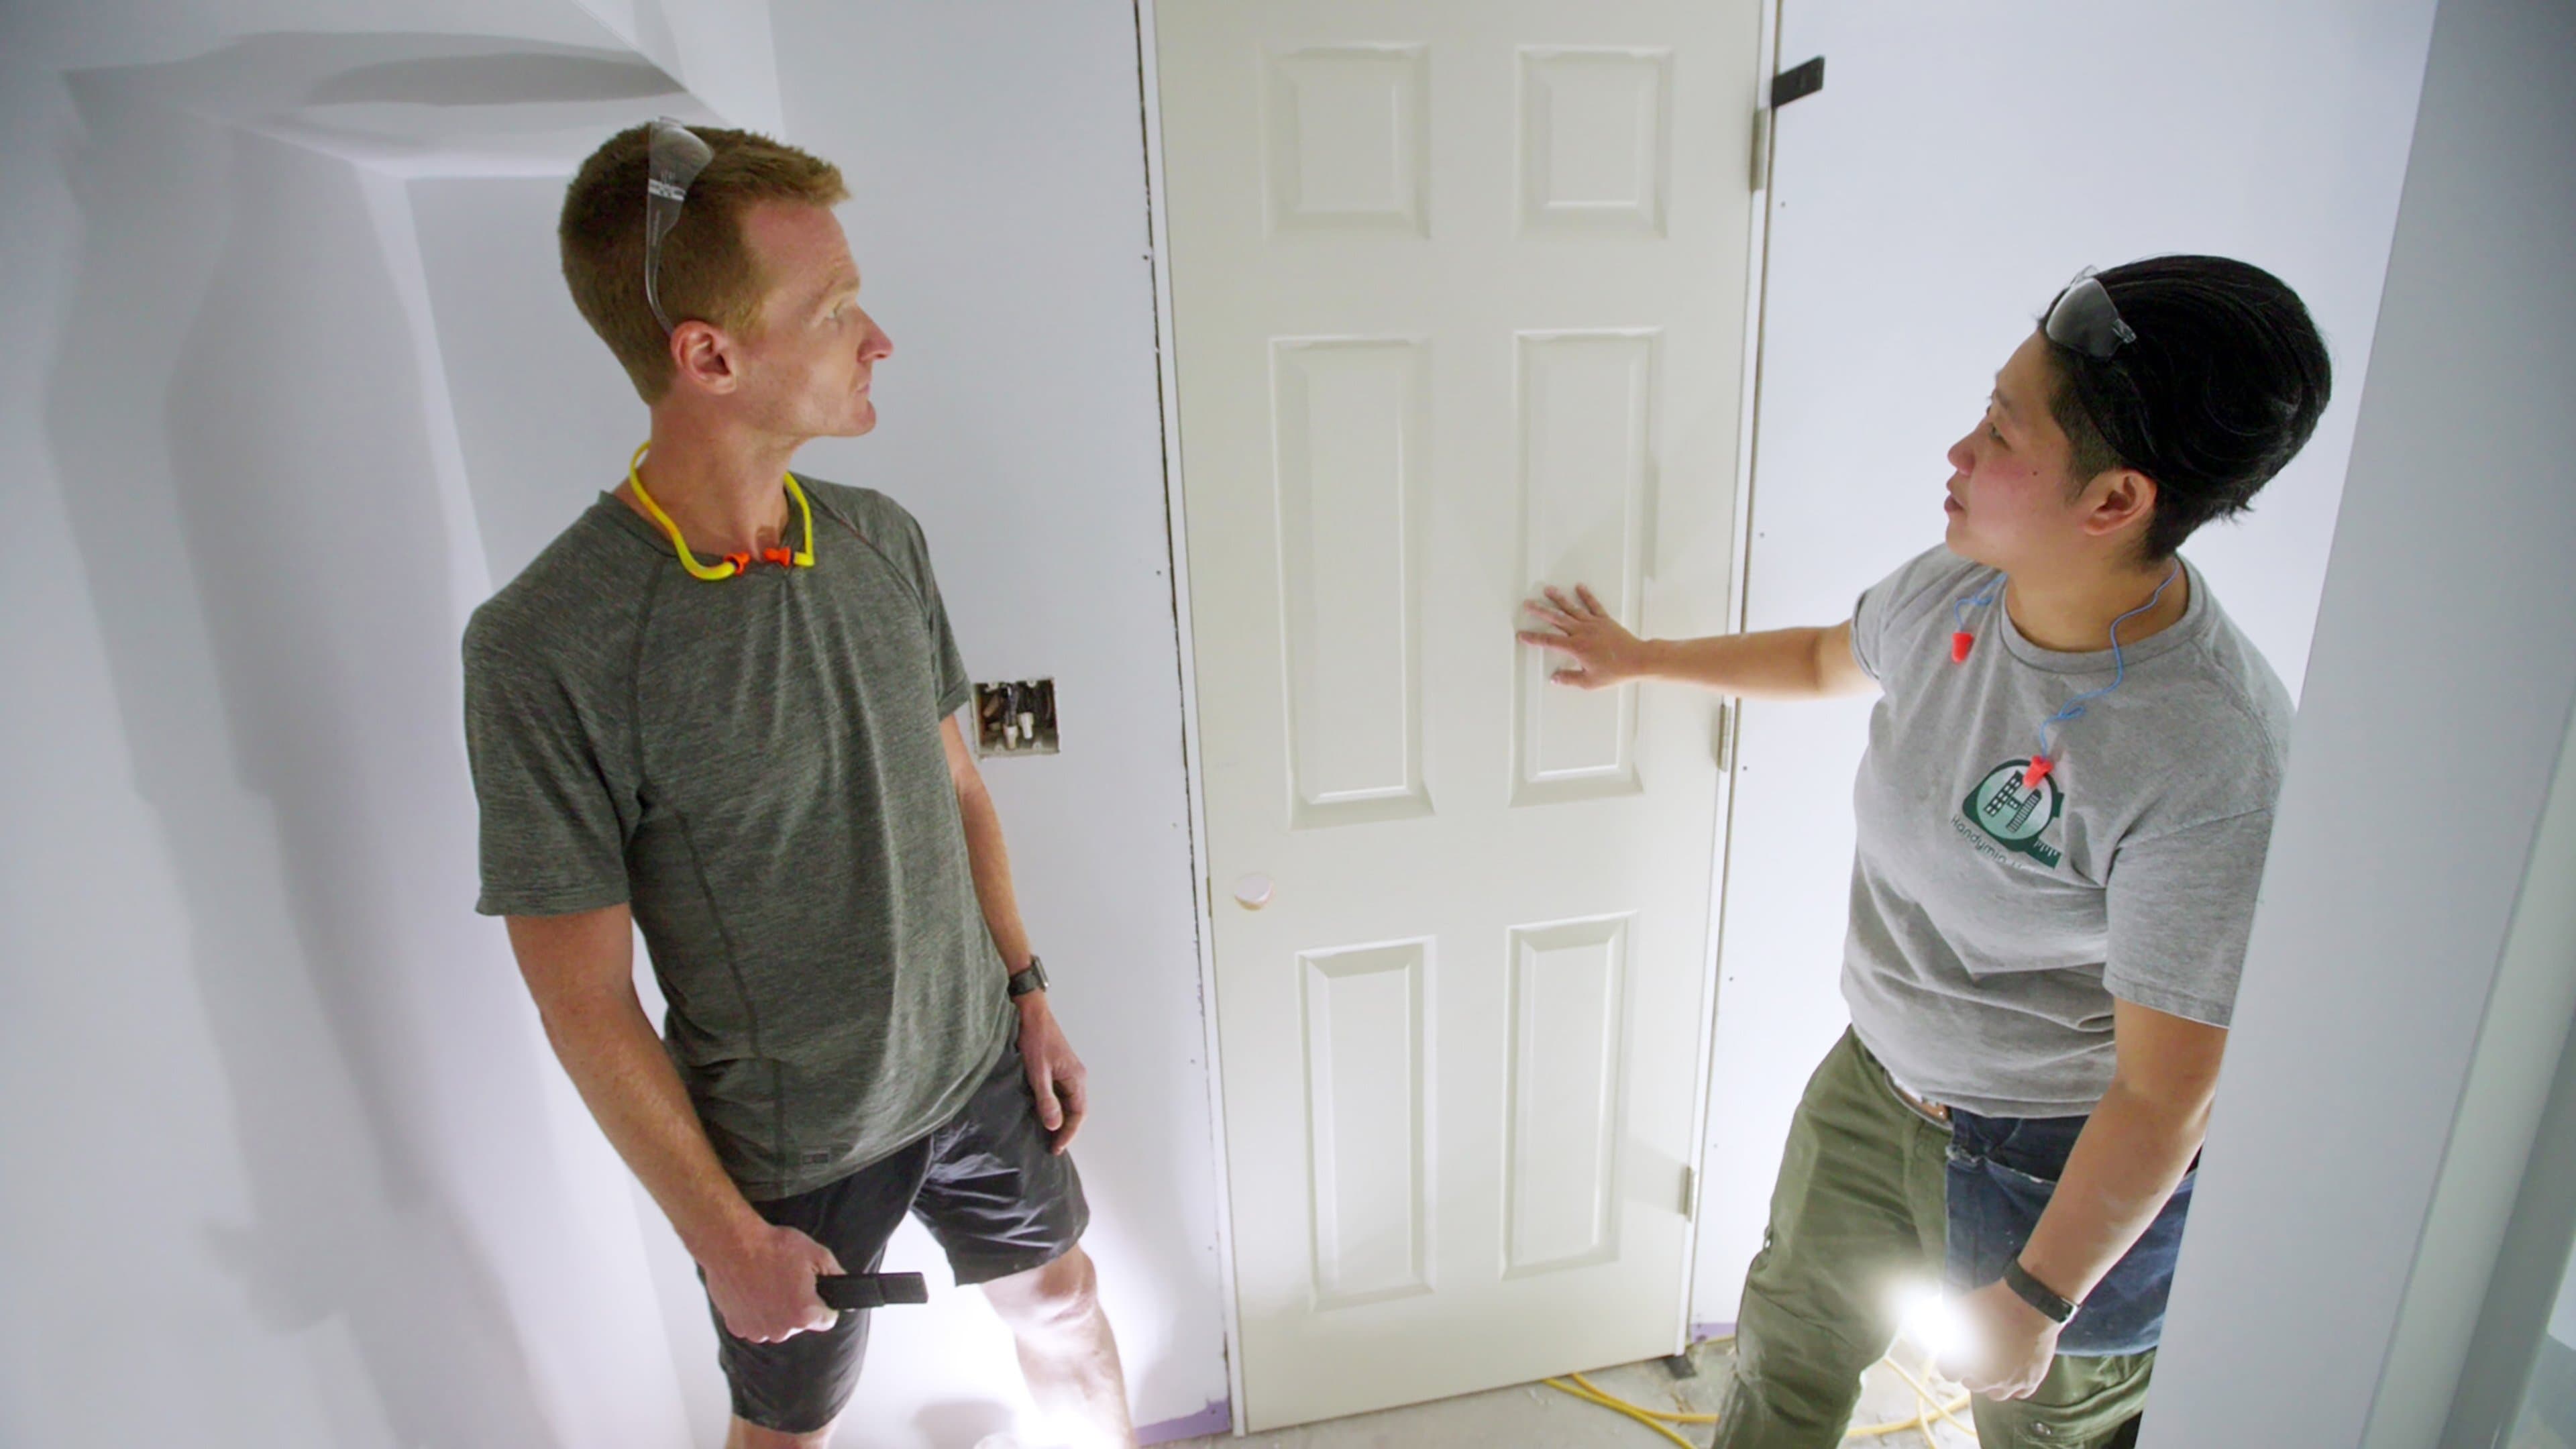
There are a lot of subtle tricks to hanging an interior door properly. If the jamb isn’t square, the door might not close, the door might spring open on its own, or it may even swing back closed when you don’t want it to. The keys are proper spacing and shimming to ensure everything is square, level, and plumb.
You will need:
- Tape measure
- 6-foot level
- Speed square
- Jig saw
- Finish nailer
- Drill
- Oscillating tool
- Pry bar
How to Hang an Interior Door
1. Start by checking the floor in the rough opening for level. If one side is higher than the other, you’ll need to trim the bottom of the door jamb to make up the difference.
2. Mark the bottom of the door jambs so they’re roughly ½-inch longer than the bottom of the door. If you found the floor to be out of level, you’ll need to make that measurement up here, marking one side shorter than the other without cutting a jamb so short that the door will scrape the floor. Scribe a line across the jamb with the speed square and cut it with the jig saw.
3. Check the hinge-side of the rough opening for plumb with the 6-foot level. Nail shims to the framing as needed to create a plumb surface for the door jamb.
4. Predrill holes in the jamb for screws above each of the hinges. Screws will allow you to adjust the frame as needed and won’t loosen over time like a nail might.
5. Place the door frame into the rough opening. Use the bottom of the speed square to ensure the jamb is flush with the drywall at the top hinge and fasten the jamb to the framing at the top screw hole. Use the 6-foot level to check the rest of the hinge jamb for plumb and fasten the jamb.
Note: If the drywall isn’t plumb (which can and often does happen), ensure the jamb is plumb. The drywall can be cut and shaped later.
6. Check the gap around the door (hinge side, top, and lock side) to ensure it’s square and consistent. Add shims to the lock side of the jamb to ensure it’s plumb and then fasten the jamb to the framing. Again, try to keep the jamb flush with the drywall if possible, but be sure the jamb is plumb first.
7. Use the oscillating tool to cut the shims back toward the framing to keep them from getting in the way of the trim during installation.