When a home is designed, certain walls help carry the weight of the floor above and transfer that load safely to the foundation. These walls, known as load-bearing walls, are essential to your home’s structure. Without them (or without a proper replacement), things could literally come crumbling down.
But just because a load-bearing wall exists doesn’t mean your floor plan is set in stone. If you know how to identify one—and safely replace it—you can change the flow of your space and create the airy, open-concept layout you’ve been dreaming about. Here’s how.
What Makes a Wall Load-Bearing?
A load-bearing wall is a vertical component of a structure’s load path. The load path is the route structural weight takes through the framing and down to the foundation. In most homes, the load path starts with the roof, travels through walls and vertical framing members, continues through the floor framing, and ultimately ends at the building’s foundation or footings.
Not every wall is load-bearing. Walls that don’t transfer weight along the load path are typically non-load-bearing, which means they can be moved or removed easily. But, if a wall does carry structural weight, it’s important to handle it correctly.
How to Tell If a Wall Is Load-Bearing
In simple, traditional homes, most pros and experienced DIYers can identify a load-bearing wall in seconds. But, if you’re newer to this stuff or your home has a more complex layout, it takes a bit more investigating. The following steps will help give you a clearer picture.
Step 1: Check the Joist Direction
Head to the basement, crawlspace, or attic and look for exposed framing—those parallel wooden beams running across the ceiling or floor. These are called joists. If the wall runs perpendicular to these joists, the wall is probably load-bearing. If the wall is parallel, it’s probably not.
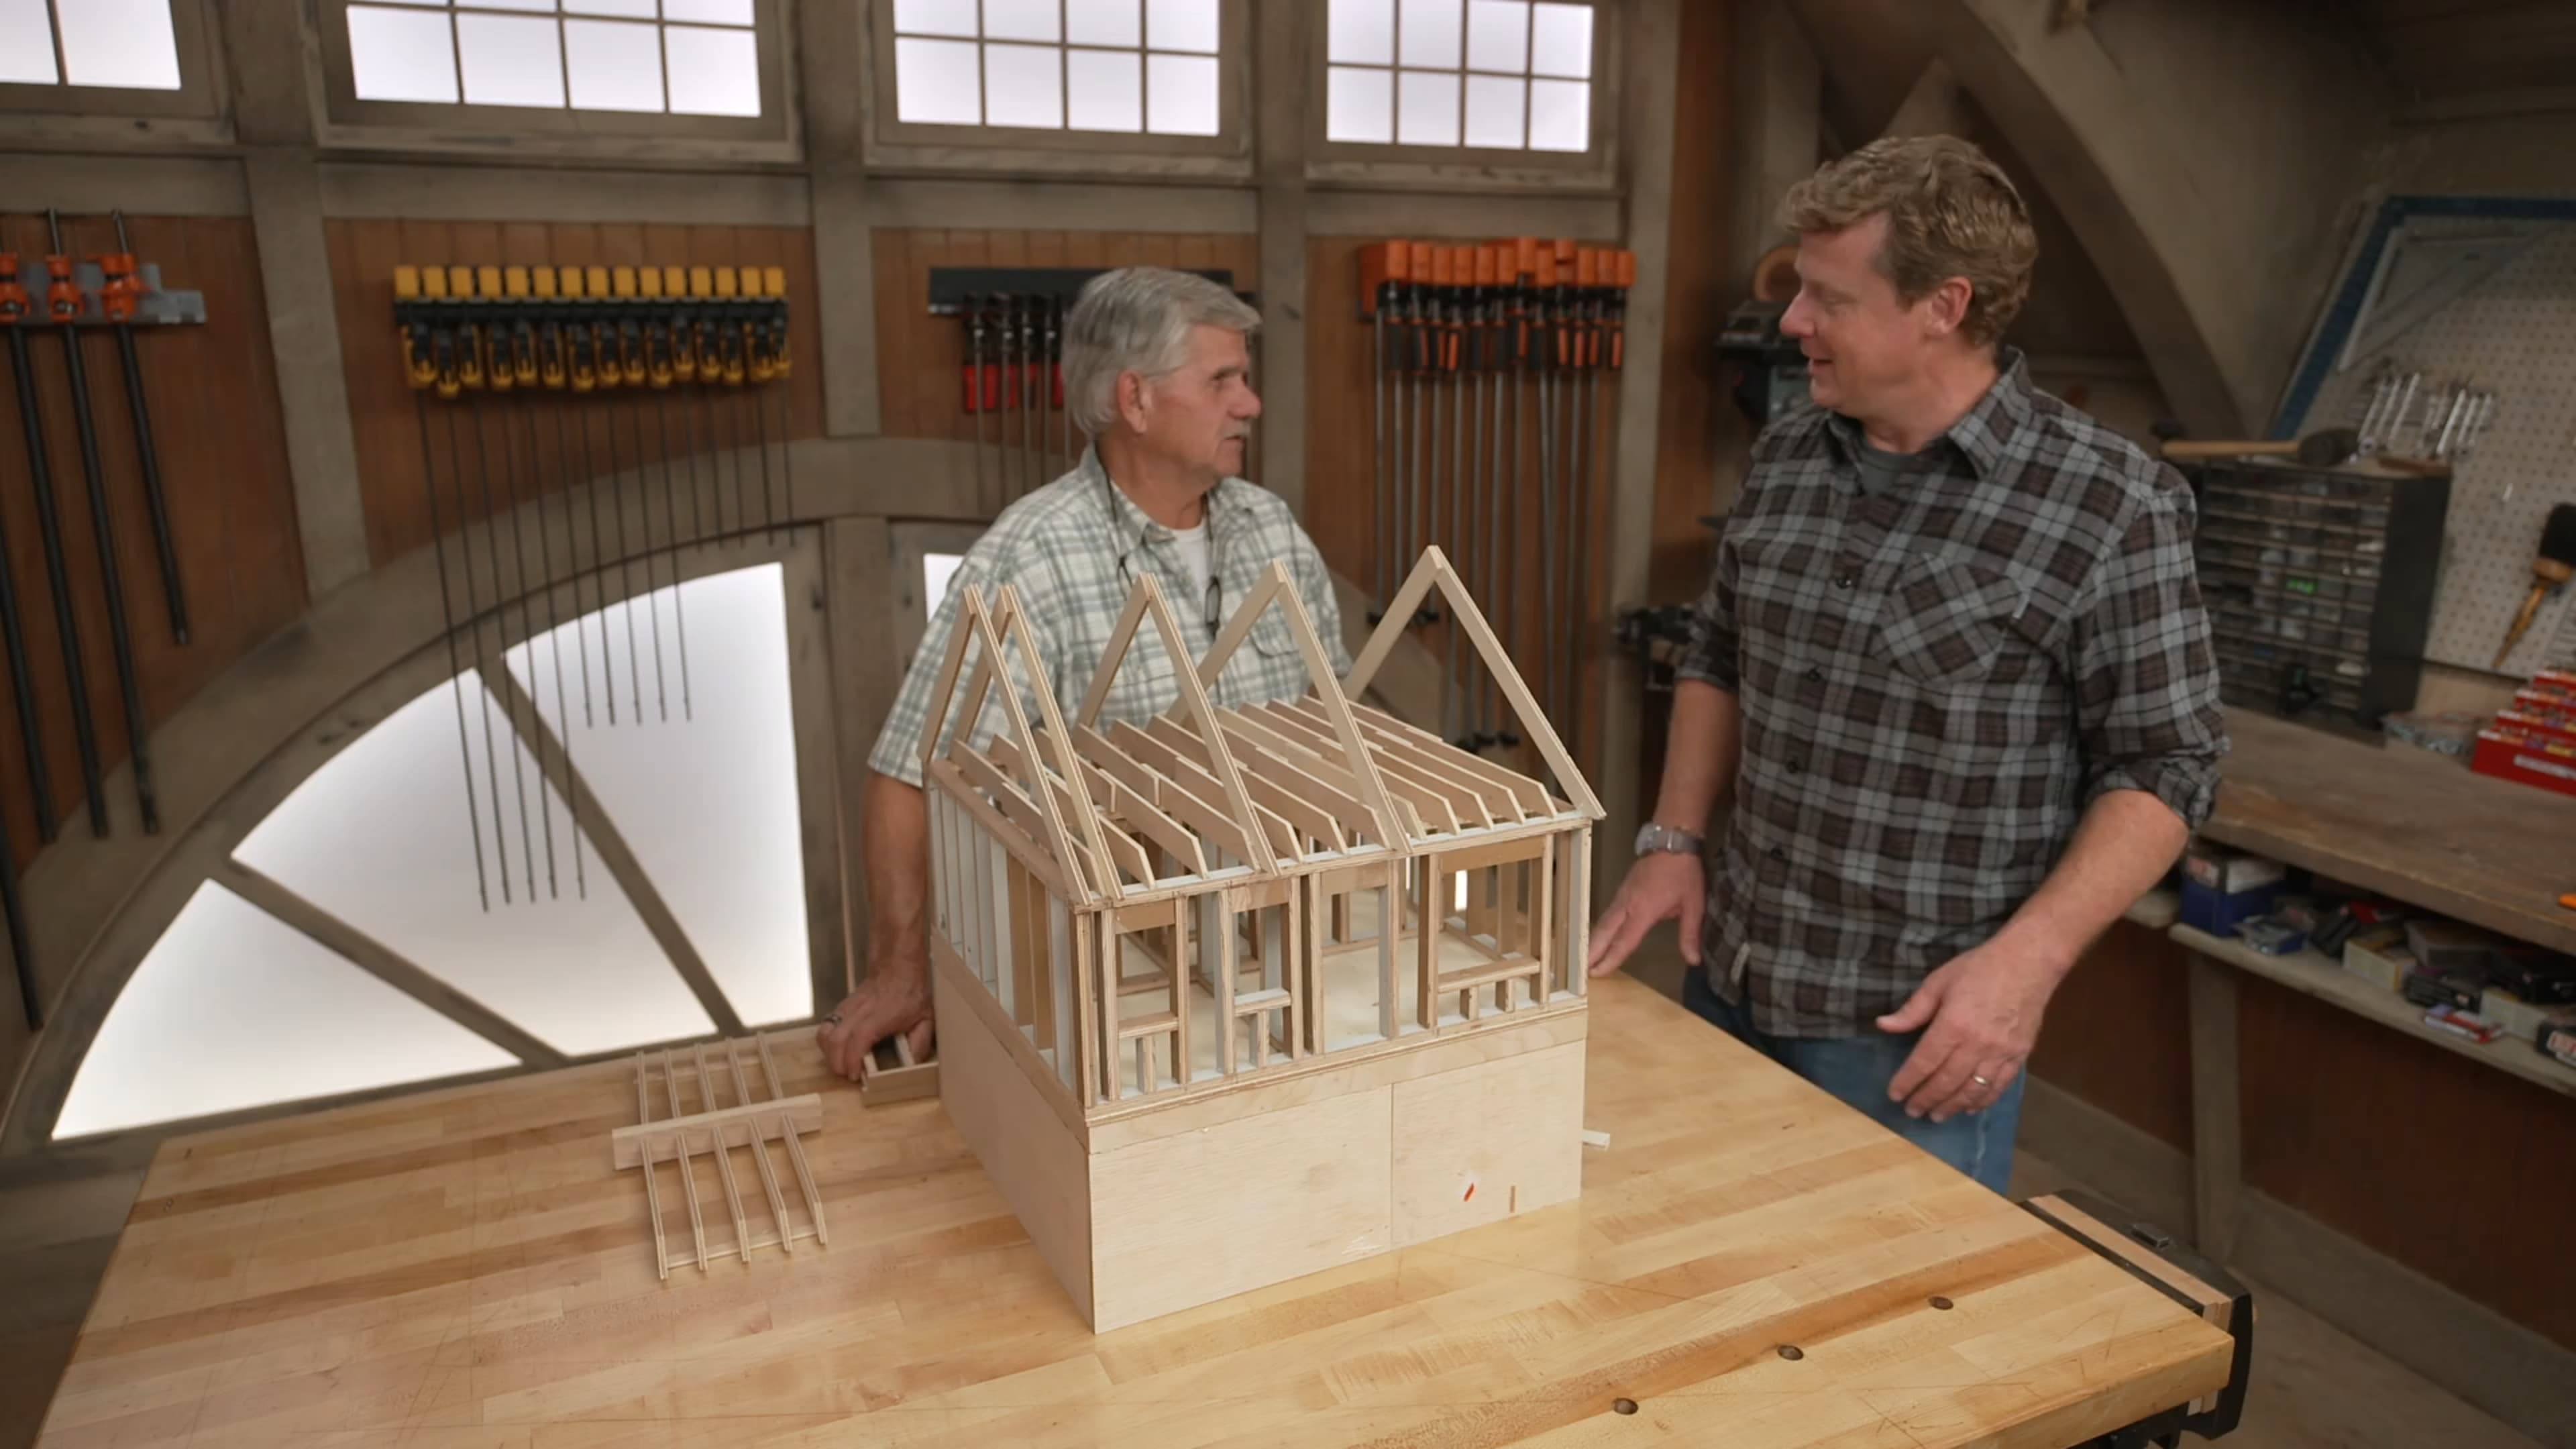
Note: Homes built with engineered trusses (the pre-built triangular frames you sometimes see in attics) or complex framing can complicate this, as they may be part of a system that distributes the load in a non-traditional way.
Step 2: Trace the Load Path to the Foundation
Go to the level below the wall in question (this might be the basement or crawlspace) and check what’s directly beneath it. If you see that it’s sitting on a beam, a foundation wall or footing, posts, or another wall, these components are probably part of the load path, making the wall load-bearing. If your basement ceiling is finished and you can’t see the framing, try measuring from an exterior wall to find the approximate location of the wall above.
Step 3: Check the Plans (If Available)
If your home came with blueprints or framing plans, load-bearing walls should be clearly marked. Look for anything labeled as blueprints, a framing plan, structural notes, or as-built drawings to find the walls that make up the load path.
Step 4: Open the Wall
If you’re still unsure, a contractor or structural engineer might confirm if a wall is load-bearing by creating a small hole in the drywall to peek inside and check the alignment of structural elements. This inspection can reveal whether a wall contains critical support structures, such as beams or columns.
It’s important to note that finding additional framing components isn’t common, as that’s an expensive and inefficient way to frame. However, you may notice larger-than-normal framing lumber, especially in modular homes.
Before You Remove Anything
You’ve done the homework, but now it’s time to make sure your plan is correct. But before anything gets torn out, there are a few critical steps to take first.
Get Structural Input
This isn’t optional: Consult a local structural engineer. First, have them confirm the wall is load-bearing. Second, have them specify the correct beam (size, type, and material) to replace it. This will likely be part of your local code requirements and permit process, so it’s necessary.
Plan for Utilities
Most load-bearing walls are made up of more than just studs. They may also include electrical wiring and outlets, plumbing pipes, HVAC ducts, and other utilities. It’s important to figure out where these utilities will go and how they’ll be rerouted. In some cases, outlets can be removed, plumbing can be rerouted, and wall ducts can be converted to floor ducts. A lot of times, it’s these small details that are the real headache, not the framing.
Build Temporary Support Walls
Once the wall’s purpose is confirmed, the beam is specified, and the utilities are planned for, the next step is installing temporary support walls on both sides of the wall you’re removing (with space between them to work). These temporary walls will hold up the floor above while you replace the old wall for the new beam.
Tip: Remove the drywall before installing the temporary support walls. This allows you to see everything behind the wall and large chunks of drywall won’t be falling down on you mid-work.
How to Remove a Load-Bearing Wall (Step-by-Step Overview)
You will need:
- Tape measure
- Pencil or marker
- 4-foot level
- Hammer
- Framing nail gun (with compressor)
- Utility knife
- Pry bar
- Reciprocating saw and blades
- Circular saw or miter saw
- 2×4 lumber
- Framing nails
- Structural beam (LVL, built-up lumber, or steel beam as specified by your engineer)
- 2×4 or 2×6 lumber (for temporary support walls)
- Drywall
- Drywall screws
- Joint compound
- Drywall tape
- Sandpaper or sanding sponges
- Primer
- Paint
- Trim boards
Step 1: Install Temporary Support Walls
Build temporary support walls on both sides of the wall you’re removing to hold up the weight during the removal process. In most cases, 2x4s are sufficient, but make sure the studs are plumb (perfectly vertical) for proper weight distribution and parallel to the wall being removed.
Build the temporary walls close enough to the original wall to provide support but leave yourself enough room to actually swing a hammer.
Step 2: Remove the Existing Wall
If you haven’t done so already, remove the drywall. With the drywall removed, cut through the studs with a reciprocating saw. You can either cut each stud in the middle, then pry the pieces out or you can cut through the nails at the top and bottom plates to remove the studs intact.
Tip: You can leave the top plate (the horizontal board at the top of the wall) in place if you like. Cutting the nails at the top and bottom plates is usually the fastest approach. Leave the bottom plate in place until the new beam is installed so your new support posts have a solid base to sit on.
Step 3: Install the Structural Beam
Measure and cut posts (vertical supports) for both ends of the wall opening. Their height should equal the wall height minus the height of the beam. Install one post by nailing into the existing framing at one end. Lift one end of the beam onto that post, and lift the beam into position. Once the beam is in place, place the other post underneath the other and fasten it in place. Add another post on each side of the opening for better load support.
Important: Each post must sit on solid framing below, not on the subfloor. They should align with a beam, wall, or properly supported footing underneath.
Step 4: Transfer the Load
Slowly dismantle the temporary support walls. Remove one stud at a time, while keeping a close eye on the ceiling and new beam, monitoring it for any flexing, sagging, or unexpected movement. If anything seems unsafe or like there’s too much movement, stop and reinstall the studs and call in a contractor or structural engineer.
Step 5: Finish and Patch
Once the temporary walls are removed and everything looks solid, it’s time to finish the project. Call the building department and schedule a framing inspection. After the inspector signs off on the work, close up the wall with drywall and finish the area by taping, sanding, priming, and painting the wall. Finally, install the trim.
Above-Ceiling vs. Below-Ceiling Beam Installation
There are two different ways to replace a load-bearing wall.
Below-Ceiling Installation
This is the fastest and most straightforward option. The new beam sits below the ceiling and the existing joists rest on top of it. There’s no need to cut the joints, however, the beam will be visible below the ceiling and take up some of your headroom, minimizing some of the benefits of a truly open floor plan.
Above-Ceiling Installation
With this approach, the beam is raised up into the ceiling so it’s hidden from view. This gives you a seamless, open look with maximum headroom, but it’s a more complicated installation process and requires precision cuts on the existing joints..
Common Mistakes to Avoid
These are structural projects with a lot riding on them, so it’s important that they’re done properly. Watch out for these:
- Undersized beams: Beams, even when site-built, tend to be expensive. Trying to save money, or simply guessing and getting it wrong, can lead to sagging or structural failure.
- Skipping the permit: Building codes exist to keep you and your family safe. Without a permit, you also run the risk of legal headaches, failed home inspections, and financing problems when you go to sell.
- Improper post placement: Posts must line up with a structural support below. Setting a post directly on the subfloor without verifying what’s beneath can lead to settling or structural damage.
- Removing the wall without temporary supports: Even minor structural shifts can cause cracks or long-term alignment issues. Temporary support walls must be snug against the ceiling before any studs are removed.
For First-Time Homeowners
Structural changes can have a big impact on your home’s long-term value and resale potential. Opening up the floor plan might improve livability and market appeal, but buyers and home inspectors will want assurance that you performed the work properly, legally, and safely.
Permits can also be a major sticking point during home sales. During the inspection process, any missing permits can signal red flags. In some cases, retroactive approvals can be issued. In others, additional engineering evaluations may be required. Lenders may even hesitate to approve financing until everything is verified to be on the up-and-up.
Keep all engineering drawings, beam specifications, permits, and inspection sign-offs in a safe place. Having clear documentation shows that the work was professionally designed and approved, which protects both your investment and the next homeowner.
Change the Layout Without Compromising the Structure
Removing a load-bearing wall isn’t just demolition—it’s a structural modification that requires careful planning and respect for the load path. By confirming the wall’s function, installing proper temporary support walls, and replacing it with a correctly sized beam and posts, experienced DIYers can safely replace a load-bearing wall. The key is moving methodically, following code requirements, and never rushing the steps that keep the house standing.