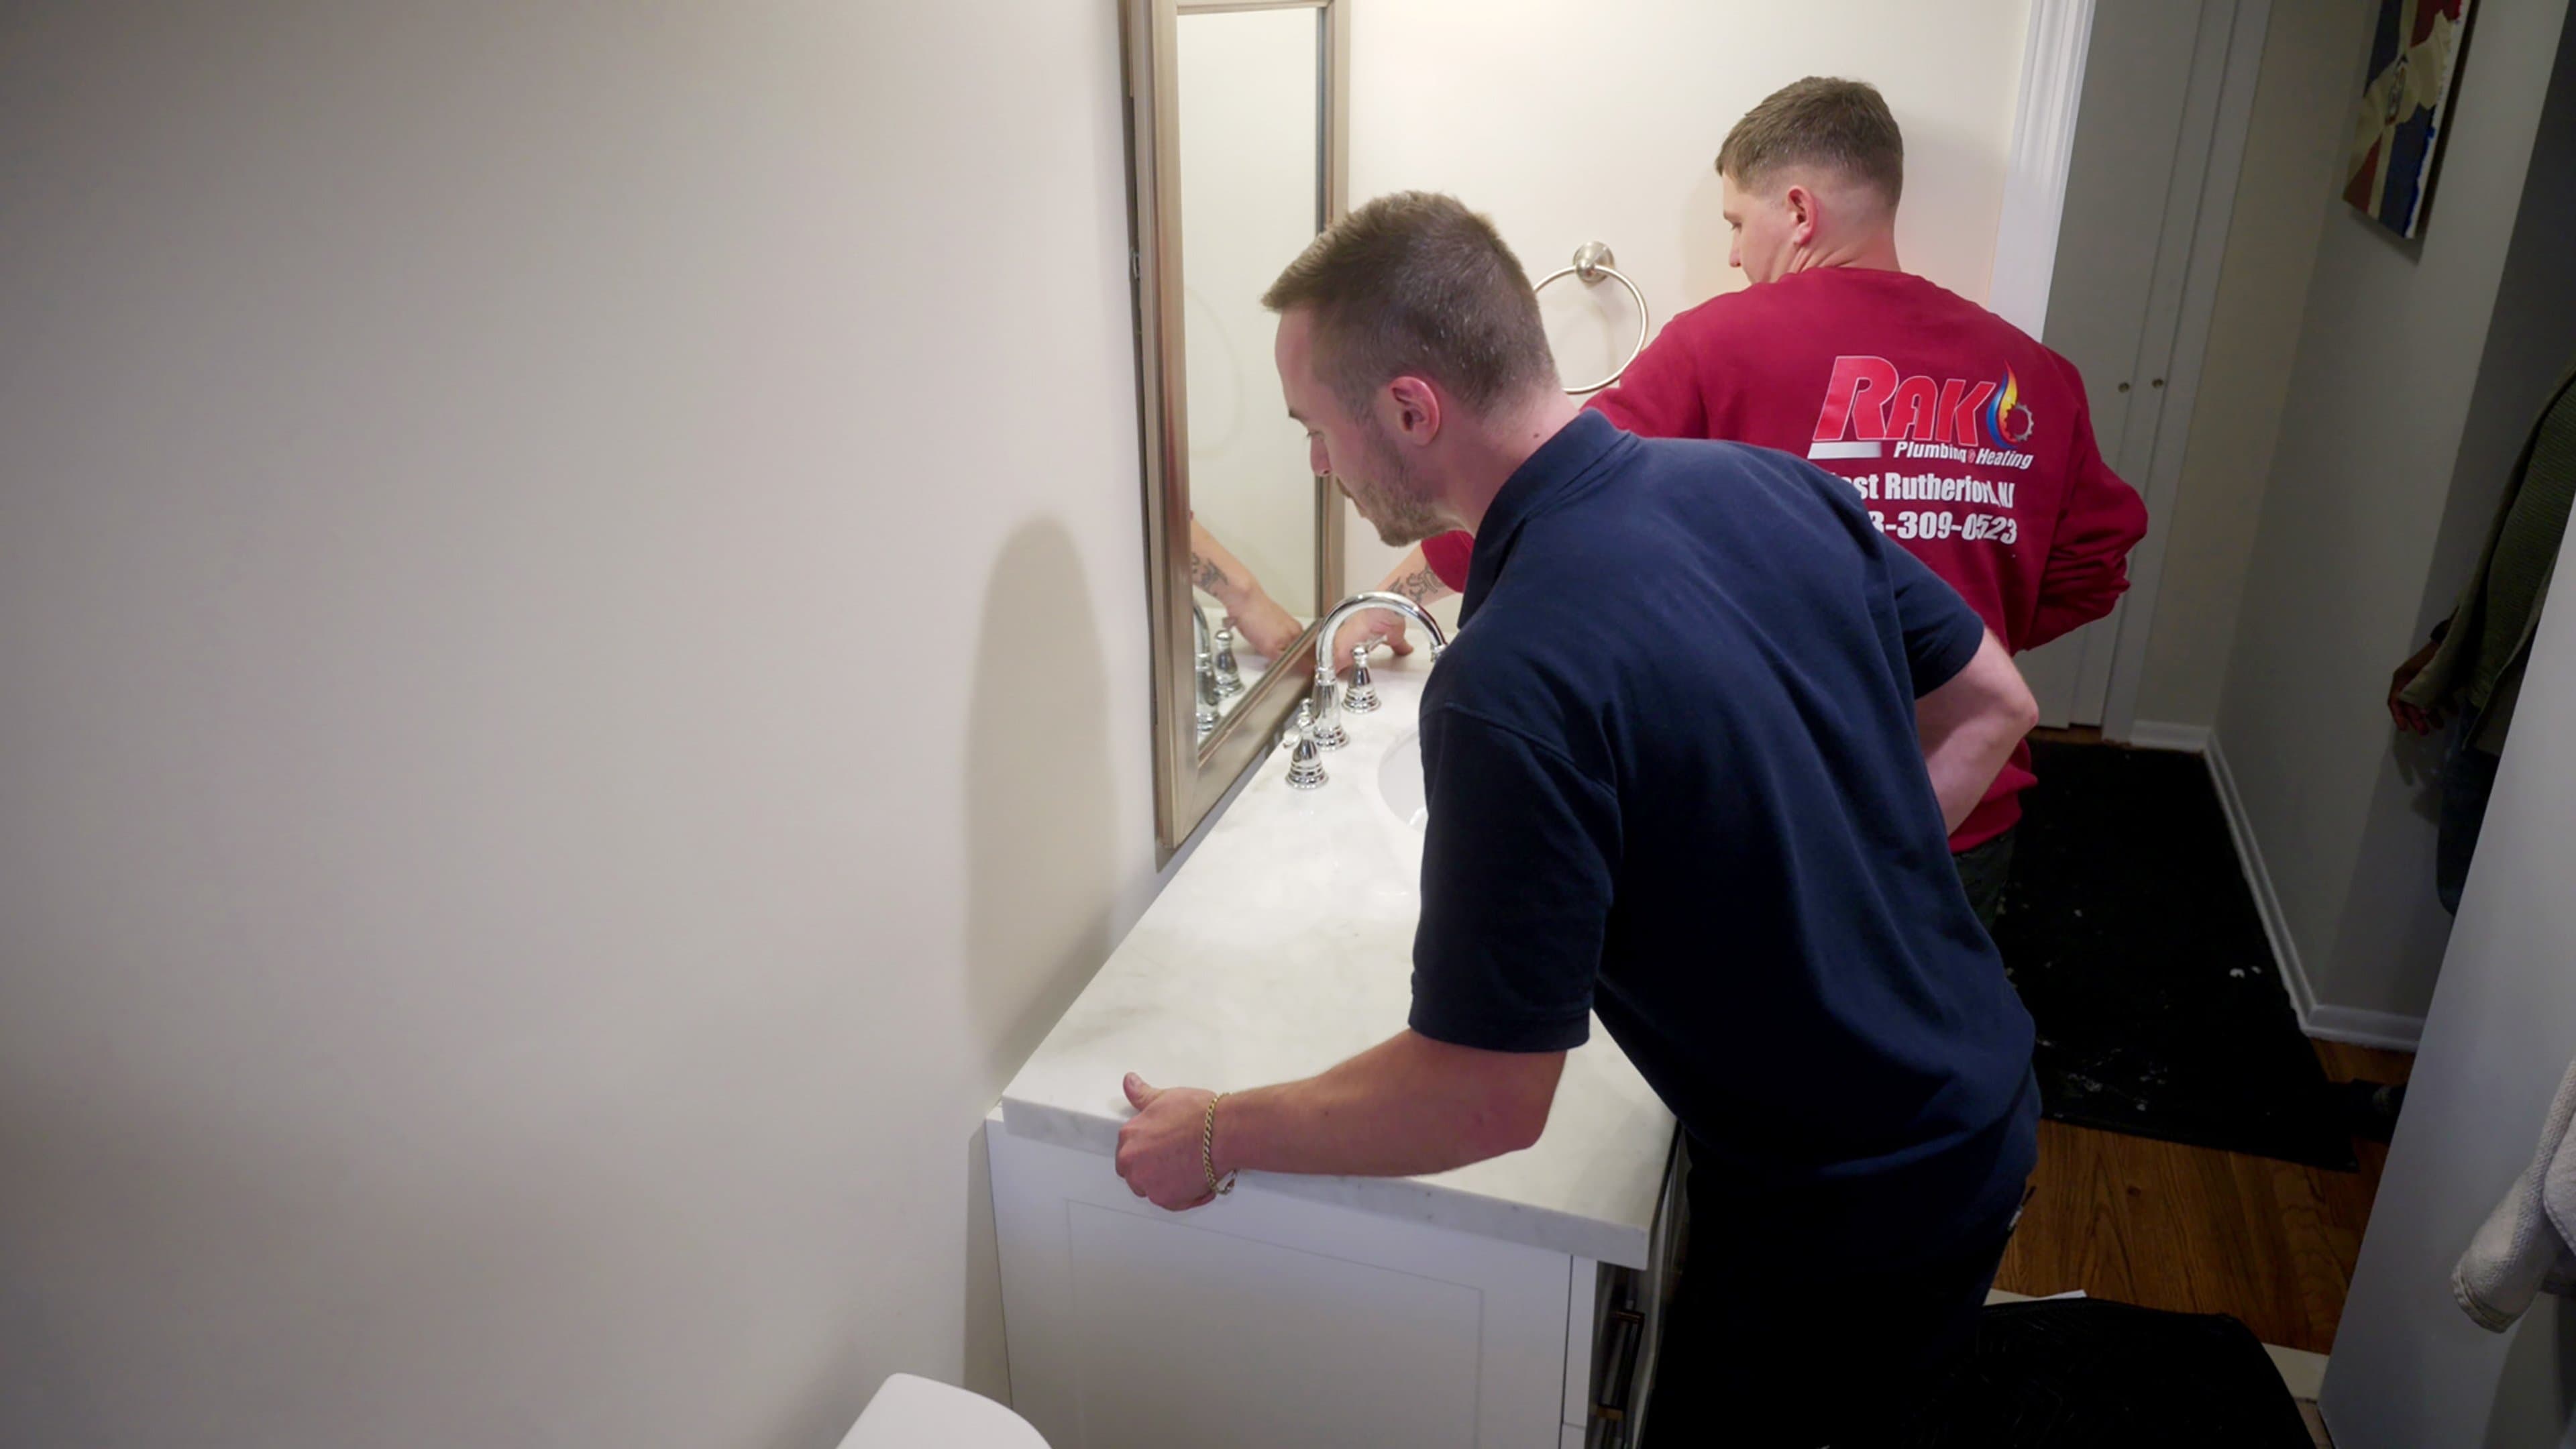
Having a bathroom vanity replaced can be a relatively quick way to boost the room’s storage and style. When first-time homebuyer Jorge grew tired of his small vanity, he opted to have a larger one with a marble countertop installed.
You will need:
- Adjustable wrench
- Utility knife
- Drill with driver bits
- Prybar
- Tape measure
- Oscillating tool
- Caulk gun
- Bathroom vanity
- Construction screws
- Countertop
- Faucet
- Supply lines
- P-trap
How to Install a Bathroom Vanity
1. Start by shutting off the water to the faucet. While doing so, take note of the age of the shutoff valves and how easy they operate, as this is also the time to replace aging valves.
2. Disconnect the supply hoses from the shutoff valves and remove the p-trap from under the sink.
3. Cut the caulk between the wall and the existing vanity and countertop with a utility knife.
4. With the hoses, trap, and caulk removed, carefully lift the existing countertop out of the vanity and remove it.
5. Remove the screws holding the vanity to the wall and remove any trim trapping the vanity cabinet in place. Once free, remove the vanity and clean and vacuum any debris left behind.
6. Measure the overall width of the new vanity and mark baseboard at this measurement from the wall, leaving a bit of wiggle room. For example, if the cabinet is 42 inches wide, measure 42 ⅛ inches from the wall and mark the baseboard. Cut it at the mark with the oscillating tool.
7. If you’re replacing the shutoff valves, use a tubing cutter to cut behind the valves and clean the pipe with a plumber’s mesh screen until you expose fresh copper.
8. Disassemble the new shutoff valve’s nut and brass ferrule. Place the nut on the pipe first, then the ferrule. Brush some pipe dope onto the ferrule before placing the new valve on the pipe and tightening the nut. Repeat for the other valve.
9. Install the new vanity in the bathroom. Check the cabinet for level from side to side and front to back, shimming as necessary. Once level, screw the cabinet to the wall.
10. Run a bead of silicone caulk along the top of the vanity before carefully dropping the countertop (with the faucet already installed) into place.
11. Install the new supply hoses and p-trap before testing the new faucet
12. Reinstall any missing trim that may need to go back into place.